This post may contain affiliate links. Please read our disclosure policy.
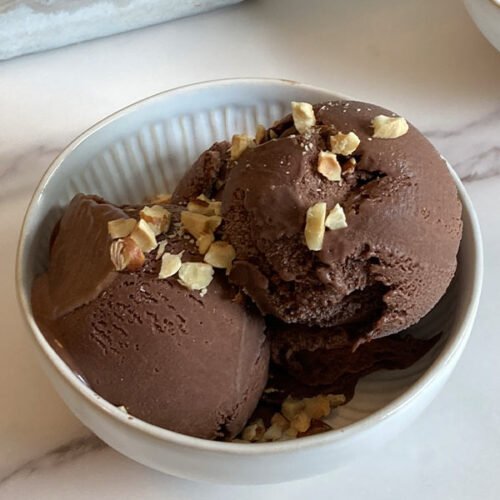
Smooth and nutty, this chocolate hazelnut ice cream is delightful. It has toasted hazelnut and chocolate flavor in every spoonful – the perfect sweet treat!

Whole Hazelnuts
We skip the chocolate hazelnut spread, filled with added oils, and opt for whole hazelnuts in this ice cream recipe. First we roast the hazelnuts to bring out their delicous nutty, toasted flavor. Then we soak the hazelnuts in milk and blend until smooth, allowing the hazelnut flavor to be fully incorporated into the ice cream base.
Cocoa Powder
You’ll typically find two cocoa powder options at the grocery store: natural and Dutch-processed. I tend to gravitate towards Dutch-processed cocoa powder because I find it has a deeper, more rounded taste. That’s what I chose to use for this recipe, but you can choose to use either.

Toppings and Mix-Ins
This recipe is for a smooth chocolate hazelnut ice cream, with no mix-ins. If you like an added crunch, you can certainly add some chopped roasted hazelnuts near the end of the churning process. You can also add a chocolate ganache swirl, some chocolate chips, Nutella swirl, etc. – the possibilities are endless.
This ice cream is delicious on its own and needs no special toppings. If you’re wanting to add something, however, chopped nuts, chocolate chips, hot fudge, and whipped cream are always good choices.
Looking for More Ice Cream Recipes?
I love keeping a variety of homemade ice cream in the freezer, ready to go for any occasion. Here are a few more delicious ice cream recipes to try:
- Crème Brûlée Ice Cream
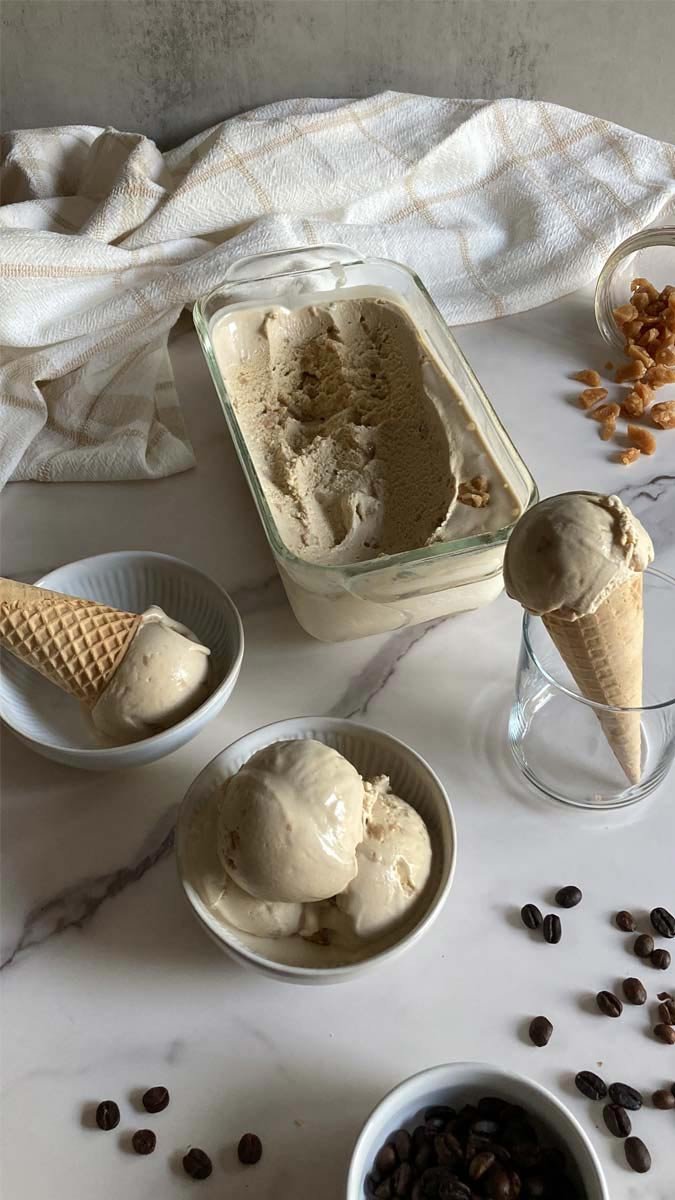
- Coffee Toffee Ice Cream
- Black Cocoa Cookies and Cream Ice Cream
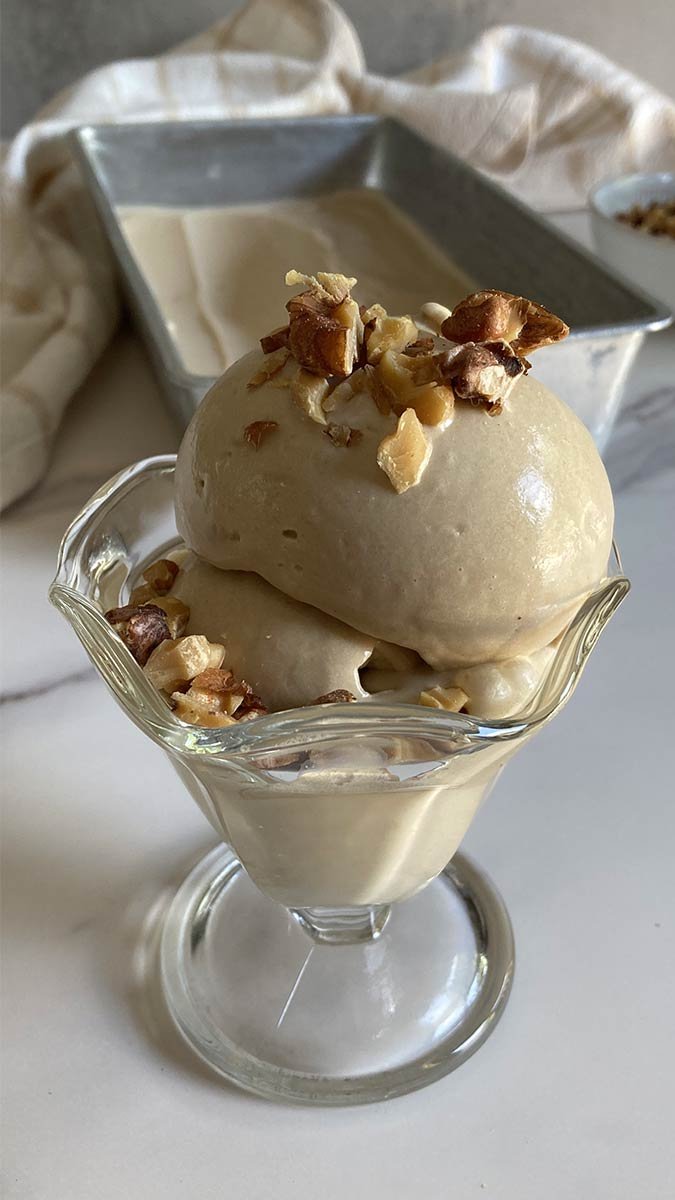
- Brown Sugar Walnut Ice Cream
- Peanut Butter Cookies and Cream Ice Cream
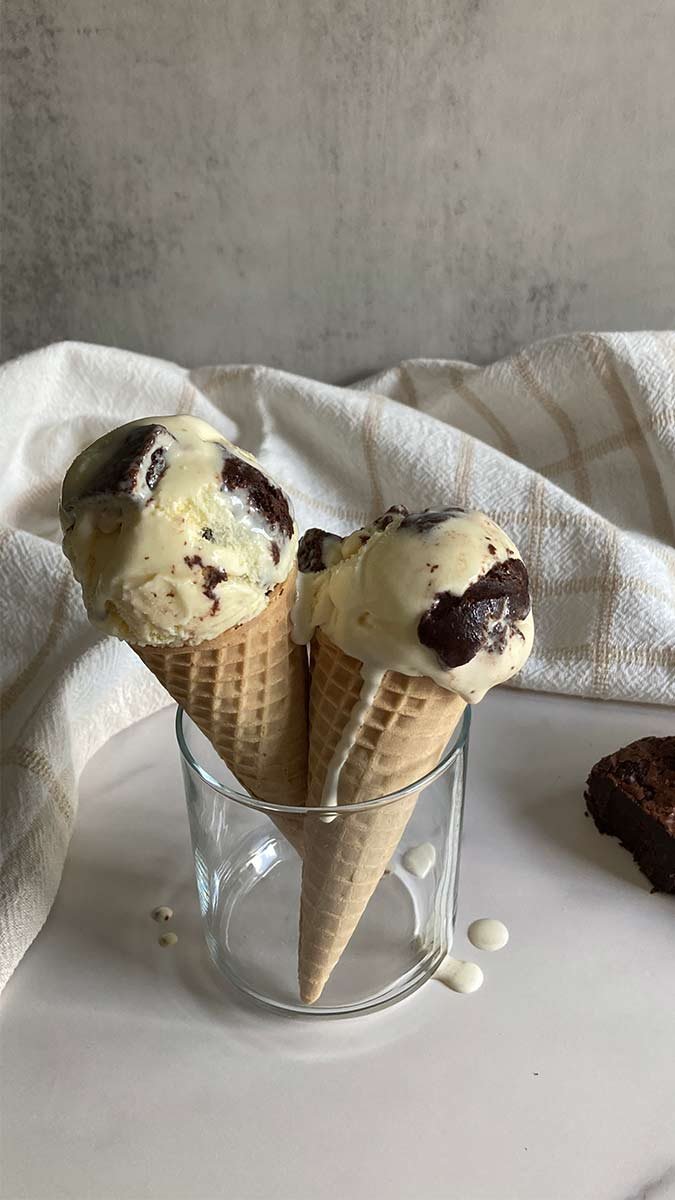
- Salted French Vanilla Brownie Ice Cream
Scooping Tip
When you’re ready to enjoy this ice cream, it’s best to let it sit at room temperature for a couple of minutes before scooping. This makes scooping much easier.

Equipment
I use an ice cream maker to churn this ice cream. The one I currently use, and some other options, are linked below:
- Cuisinart Ice Cream Maker (the one I currently use)
- Kitchen Aid Mixer Ice Cream Attachment
- Bosch Mixer Ice Cream Attachment
- Dash Ice Cream Machine
Don’t have an ice cream machine or not ready to buy one? Check out my post: How to Make Ice Cream Without a Machine.
Chocolate Hazelnut Ice Cream
Equipment
- Ice Cream Machine
Ingredients
- ¾ cup roasted hazelnuts
- 2 cups whole milk
- 1 cup heavy cream
- ½ cup cocoa powder
- 1 tsp vanilla extract
- ½ tsp salt
- 6 egg yolks
- ¾ cup sugar
Instructions
- Add milk and toasted hazelnuts to an air-tight container and soak overnight in the fridge, or for at least 8 hours.
- Add egg yolks and sugar to a medium bowl and whisk until light and fluffy. Set aside.
- Blend hazelnuts and milk in a high-speed blender until very smooth. If your blender won't get the mixture super smooth, strain mixture through a fine mesh sieve to remove any hazelnut pieces.
- Add the hazelnut milk, cream, cocoa powder, vanilla, and salt to a pot. Place over medium heat, stirring frequently, until warm and beginning to steam.
- Slowly pour some of the warm milk mixture into the egg yolk mixture, while whisking constantly to temper the egg yolks. Continue until all of the milk has been added.
- Pour the mixture back into the pot and cook over medium heat, stirring constantly. Cook until the mixture thickens and coats the back of a spoon well.
- Pour the mixture through a fine-mesh sieve (optional) into a heat-safe container. Cover and let cool slightly at room temperature for 20 minutes. Then, place in the fridge and chill overnight, or until completely cold.
- Churn ice cream according to manufacturer's instructions.
- Transfer to an air-tight container, cover, and freeze until firm.
Notes
If you try this recipe, I’d love to see it! Please leave a comment with a rating and tag @BrooksideKitchen on Instagram with the hashtag #brooksidekitchen