There are recipes out there for no-churn ice creams, usually consisting of heavy cream and sweetened condensed milk, that don’t require an ice cream machine. But what if you want to make a flavor that you can’t find a “no-churn” recipe for? Or what if you want to make more traditional ice cream or true custard-style ice cream without a machine, what do you do?
There is a method that you may have seen before, where you place an ice cream base into a plastic bag, seal it, and place it inside of another plastic bag full of ice and salt. You then squish the ice cream around in the bags to “churn” it while it freezes. That can be a bit messy and a bit of a pain, so here is what I recommend (jump to the recipe below for the full, in-depth instructions and printable version):

The Method
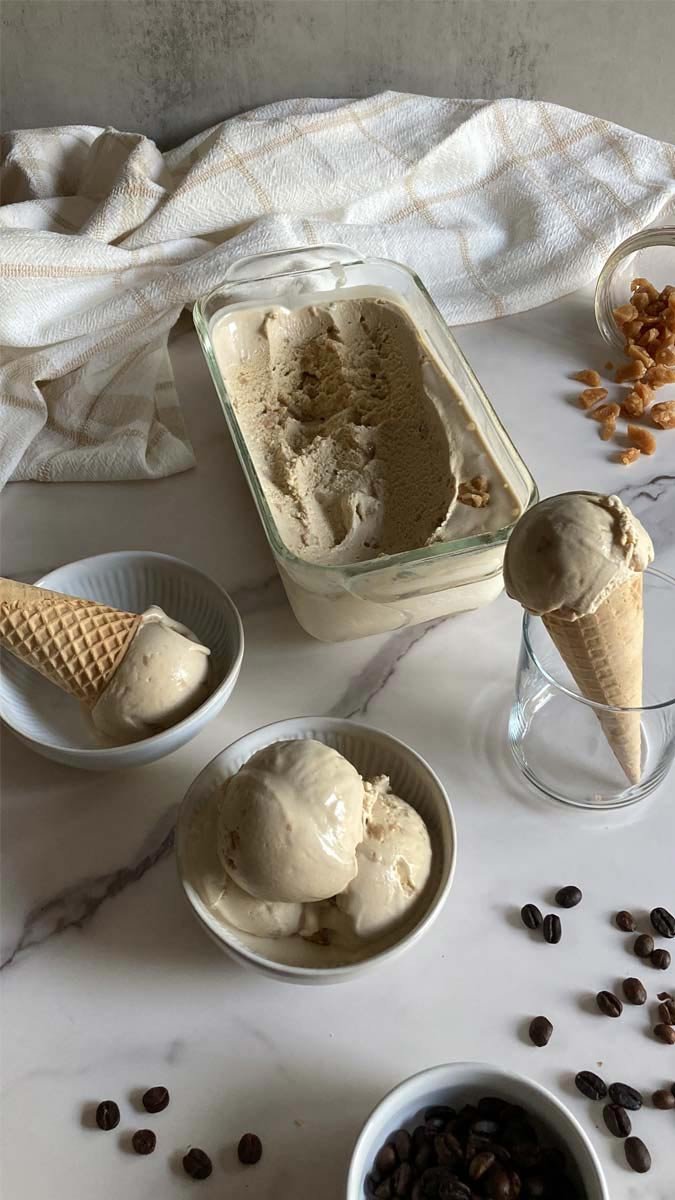
You’ll first make the ice cream base as you normally would. You then chill the ice cream base in the fridge until cold. Once it’s cold, transfer the ice cream base to a freezer safe container; I use a gallon-sized Ziploc bag – I find this to be the easiest option. You can also freeze in an ice cube container, but you’ll want to have a way to cover it tightly and keep the air out. The ice cream base is then left to freeze overnight, or until it’s completely solid.
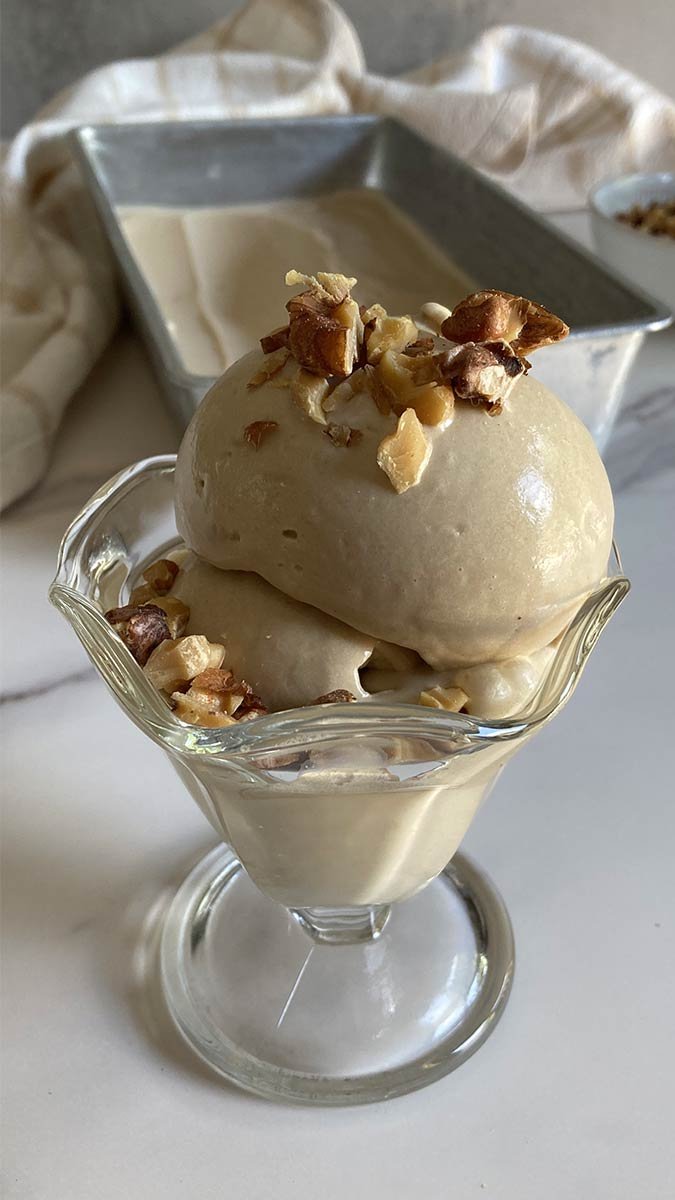
Once frozen, remove it from it’s container and place in a high-powered food processor or blender with a tamper. Note – you may need to chop the ice cream block into smaller pieces first to fit into the food processor or blender. Blend until smooth and creamy. This is the point where you would add any mix-ins that the recipe calls for. You can either enjoy it at this step (it will be a bit soft) or place it back in the freezer to be scooped and enjoyed at a later time.
I also wanted to note that while this method works and is a good alternative to making ice cream without a machine, the resulting ice cream can be a little more icy than if you were to make it with a machine. If you do want to go ahead and get an ice cream machine, I’ve linked the one I currently use below, along with some other options as well.
Ice Cream Machine Options
- Cuisinart Ice Cream Maker (the one I currently use)
- Kitchen Aid Mixer Ice Cream Attachment
- Bosch Mixer Ice Cream Attachment
- Dash Ice Cream Machine
How Ice Cream Churning Works
Churning ice cream involves putting an ice cream base into a frozen container and constantly stirring the mixture as it freezes. The constant motion of the ice cream prevents large ice crystals from forming. Churning also incorporates air into the ice cream base, which helps give it a creamy structure. The ice cream continues to churn until it thickens and reaches a consistency similar to soft-serve. At that point, it’s placed in the freezer to firm up completely to the scoopable texture that we all know and love.
How This Method Works
The process described in this post, and in the instructions below, works differently; we’re not churning the ice cream at all. Instead, the ice cream base is frozen solid as the first step. At this point, no air has been incorporated into it and large ice crystals will form. Since we want the ice cream to be smooth, we blend the frozen ice cream base using a high-powered blender or food processor to break down those ice crystals. This step is done quickly to avoid melting the ice cream.
The ice cream can be enjoyed at this point or put back into the freezer to solidify and be enjoyed at a later time. The texture will be slightly different than that of a traditionally-made ice cream, but it’s a great alternative that uses equipment you likely already have on-hand.
What about the Ninja Creami?
The Ninja Creami has gained popularity for at-home ice cream. It works similarly to the food processor method described above (and in the instructions below), but with more precision and speed. The ice cream base is first frozen solid in the container provided, which forms large ice crystals. The machine works by shaving off super thin layers of ice cream, which breaks down the large ice crystals, and fluffing them together.
It basically works the opposite way of churning ice cream. Churning prevents large ice crystals from forming as it freezes, while the Creami breaks down the crystals after it’s been frozen.
Comparison
This Method
Best for: occasional ice cream making without a separate piece of equipment
Pros:
- No single-purpose equipment
- Quick & simple
Cons:
- Icier texture than traditional ice cream
- Need to work quickly to avoid melting
Links:
Ice Cream Machine
Best for: small to large batches of traditional, creamy ice cream
Pros:
- Best classic ice cream texture
- Can make small or large batches (usually up to 1-2 quarts) of ice cream or sorbet
- Reasonably priced (depending on model)
Cons:
- Single-purpose tool
- Bowl must be frozen ahead of time with most models
Links:
Ninja Creami
Best for: small batches of ice cream or ice-cream alternatives
Pros:
- Great for ice cream alternatives (ex: low-fat or protein ice cream)
- Can produce results similar to traditional ice cream
Cons:
- Base must be frozen for 24 hours before spinning
- Small, pint-sized, batches
- Can be a bit noisy
- Single-purpose tool
- Pricey
Links:
How to Make Ice Cream Without an Ice Cream Machine
How to Make Ice Cream Without a Machine
Equipment
- High-powered food processor or blender
Instructions
- Prepare the ice cream base according to your recipe's instructions. You'll want to follow the recipe until the churning step, then continue with the instructions below:
Making Ice Cream Without an Ice Cream Machine
- Chill ice cream base in the fridge until cold.
- Transfer ice cream base to a freezer-safe container and freeze overnight, or until solid (see Note 1, below).
- Once fully frozen, remove the ice cream base from the container and place into a high-powered food processor or blender (see Note 2, below). You may need to chop the ice cream into smaller pieces to fit into your appliance. Blend until smooth (see Note 3, below).
- If there are any mix-ins (cookie pieces, nuts, etc.) in your chosen recipe, mix them in now.
- Enjoy at this step for a softer ice cream or transfer to an air-tight, freezer-safe container to be scooped and enjoyed at a later time.
Notes
- I prefer to use a gallon-sized Ziploc plastic bag at this step. It allows you to freeze the ice cream base with minimal air exposure and allows for easy removal. You can also choose to use an ice cube tray, but you’ll want to cover it tightly to minimize air exposure – air exposure will form excess ice crystals.
- If using a blender to blend the ice cream, I would recommend a blender with a tamper. That will allow you to push the ice cream blocks towards the blade as it spins instead of stopping and starting the blender several times to push the mixture down.
- When it comes to blending the frozen ice cream, you want to work quickly. You want to blend the ice cream without allowing it too much time to melt. You may have to periodically stop blending to push the frozen chunks down towards the blades before resuming.
- While this method does work well, please note that the resulting ice cream may be a bit more icy than if you were to use an ice cream machine.