This post may contain affiliate links. Please read our disclosure policy.
The classic cookies and cream ice cream flavor, but with a nutty twist!

Classic with a Twist
Cookies and cream is a classic ice cream flavor that is loved by many. In this recipe, we take that classic and add peanut butter – because what isn’t better with the addition of peanut butter?
The peanut butter adds a bit of depth and a nutty, toasty flavor to the ice cream which helps balance out some of the sweetness. It’s a wonderful combination!
Advantage of Homemade Ice Cream
One of the perks of making your own ice cream at home is that you have full control. If you love your cookies and cream ice cream with tons of cookies, go ahead – add more cookies! If you prefer only a small amount of cookies throughout, leave some out. Want a fudge swirl? Add it in! Want to mix in peanut butter cups too, go ahead – the possibilities are endless!
Here are a few more delicious ice cream recipes to try:
- Black Cocoa Cookies and Cream Ice Cream
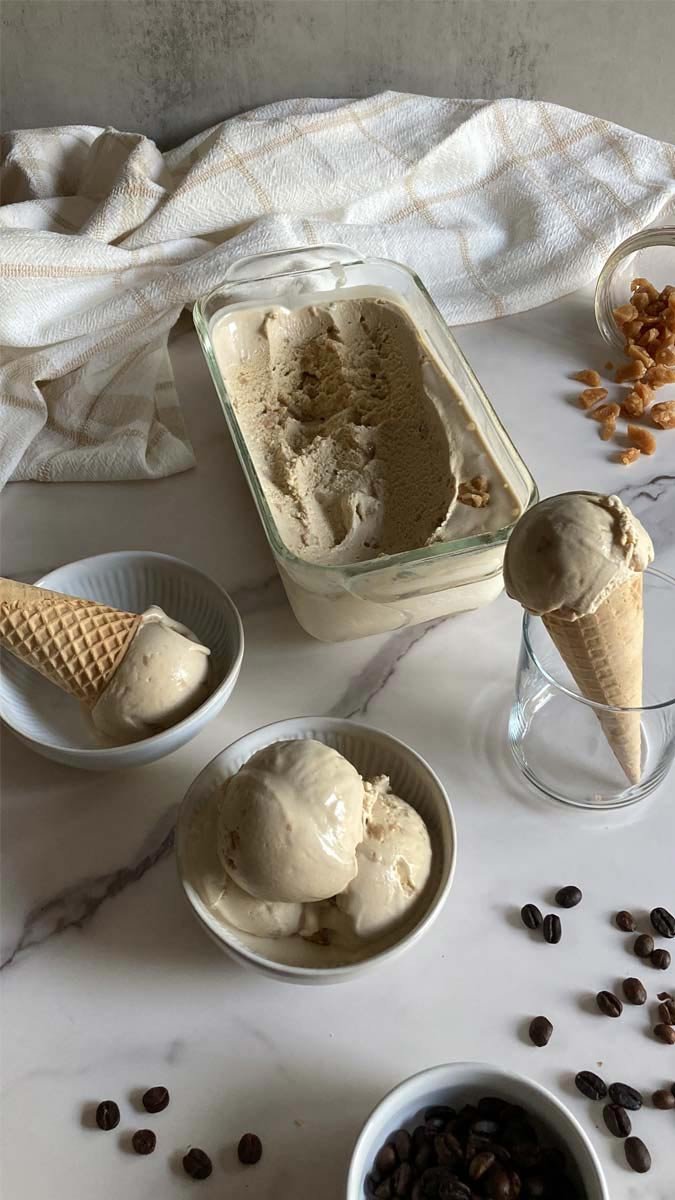
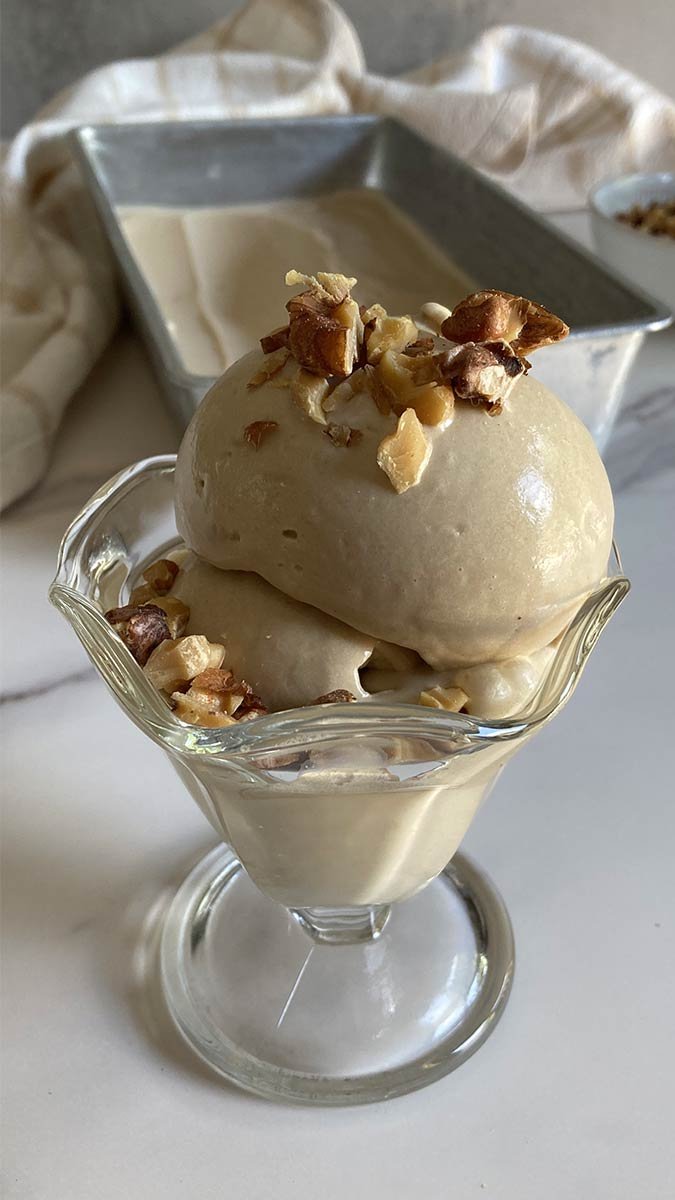
- Brown Sugar Walnut Ice Cream
- Coffee Toffee Ice Cream
- Crème Brûlée Ice Cream
- Salted French Vanilla Brownie Ice Cream
- Chocolate Hazelnut Ice Cream

A Note on Peanut Butter
Traditional peanut butter and natural peanut butter (meaning the types that only contain peanuts and maybe salt) behave differently. Traditional, commercial peanut butter like Skippy or Jif is what is recommended for this recipe. These types of peanut butters don’t separate like natural peanut butter does, so they blend much better into the ice cream base.
Mixing in the Cookies
You’ll want to add the cookie pieces just before the ice cream is done churning. You can also manually mix them in after the churning process is complete.
If you add the cookies earlier than this, they may break down too much and you won’t have nice chunks of cookies throughout the ice cream. You may, instead, have tiny cookie flecks.

Equipment
I use an ice cream maker to churn this ice cream. The one I currently use, and some other options, are linked below:
- Cuisinart Ice Cream Maker (the one I currently use)
- Kitchen Aid Mixer Ice Cream Attachment
- Bosch Mixer Ice Cream Attachment
- Dash Ice Cream Machine
Don’t have an ice cream machine or not ready to buy one? Check out my post: How to Make Ice Cream Without a Machine.

Peanut Butter Cookies and Cream Ice Cream
Equipment
- Ice Cream Machine
Ingredients
- 2 ⅔ cups whole milk
- ⅓ cup heavy cream
- 1 cup creamy peanut butter (see note)
- 1 tsp vanilla extract
- ½ tsp salt
- 4 egg yolks
- ¾ cup sugar
- 12 Oreo cookies
Instructions
- In a medium bowl, whisk together egg yolks and sugar until light and fluffy. Set aside.
- Add milk, cream, peanut butter, vanilla, and salt to a pot. Place over medium heat, stirring frequently, until warm and beginning to steam.
- Slowly pour some of the warm milk mixture into the egg yolk mixture, while whisking constantly to temper the egg yolks. Continue until all of the milk has been added.
- Pour the mixture back into the pot and cook over medium heat, stirring constantly. Cook until the mixture thickens and coats the back of a spoon well.
- Pour the mixture through a fine-mesh sieve (optional) into a heat-safe container. Cover and let cool slightly at room temperature for 20 minutes. Then, place in the fridge and chill overnight, or until completely cold.
- Churn ice cream according to manufacturer’s instructions.
- Crush the Oreo cookies into small pieces and fold into the ice cream. Transfer to an air-tight container, cover, and freeze until firm.
Notes
If you try out this recipe, I’d love to see it! Please leave a comment with a rating here and tag @BrooksideKitchen on Instagram and use the hashtag #brooksidekitchen