This post may contain affiliate links. Please read our disclosure policy.
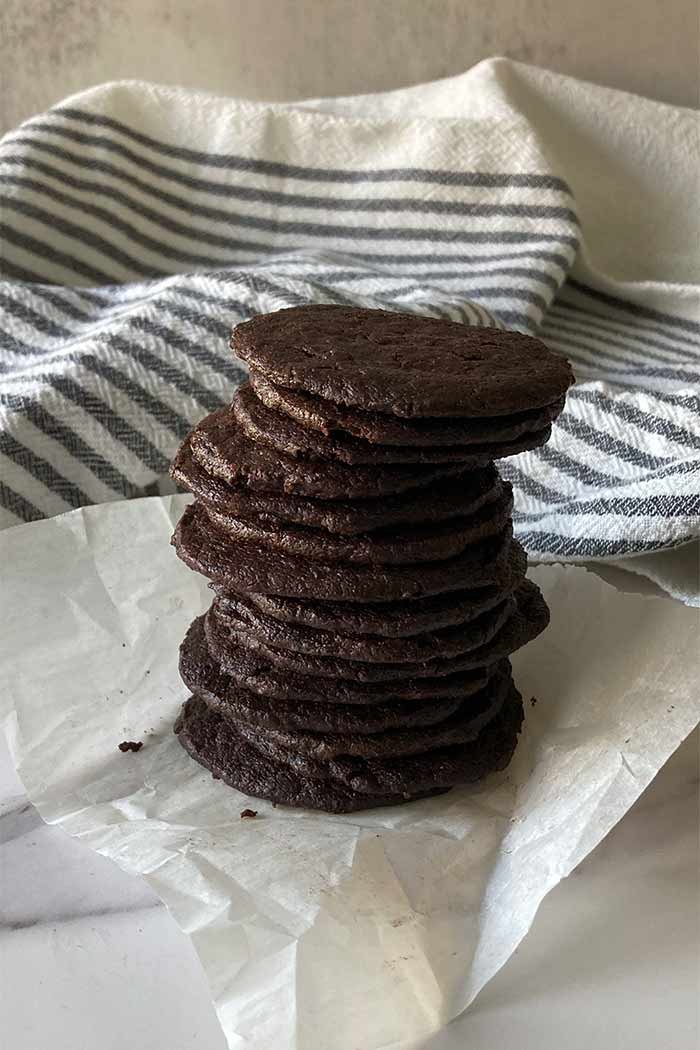
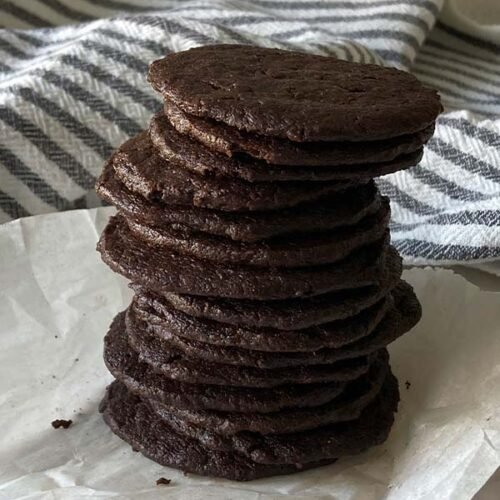
A thin and crispy chocolate cookie. They’re fantastic on their own, but can also be used to make cookie crusts, ice cream crunchies, icebox cakes and more.
A Versatile Chocolate Wafer Cookie
This recipe creates a simple chocolate wafer cookie. It has a deep chocolate flavor and a crispy, yet airy, texture that is perfect for snacking. While delicious on their own, these cookies can also be used for a wide variety of recipes like cookie crusts for pies, crunchies for an ice cream cake, icebox cakes, and more. If you enjoyed Nabisco’s Famous Chocolate Wafer Cookies before they were discontinued, you’ll like this recipe. The best part – this recipe makes the same amount as one box of Nabisco’s cookies!
Note – These cookies contain a good amount of butter, so if you’re using them to make a pie crust in place of Nabisco’s Famous Chocolate Wafer Cookies, you may have to reduce the amount of butter in the crust
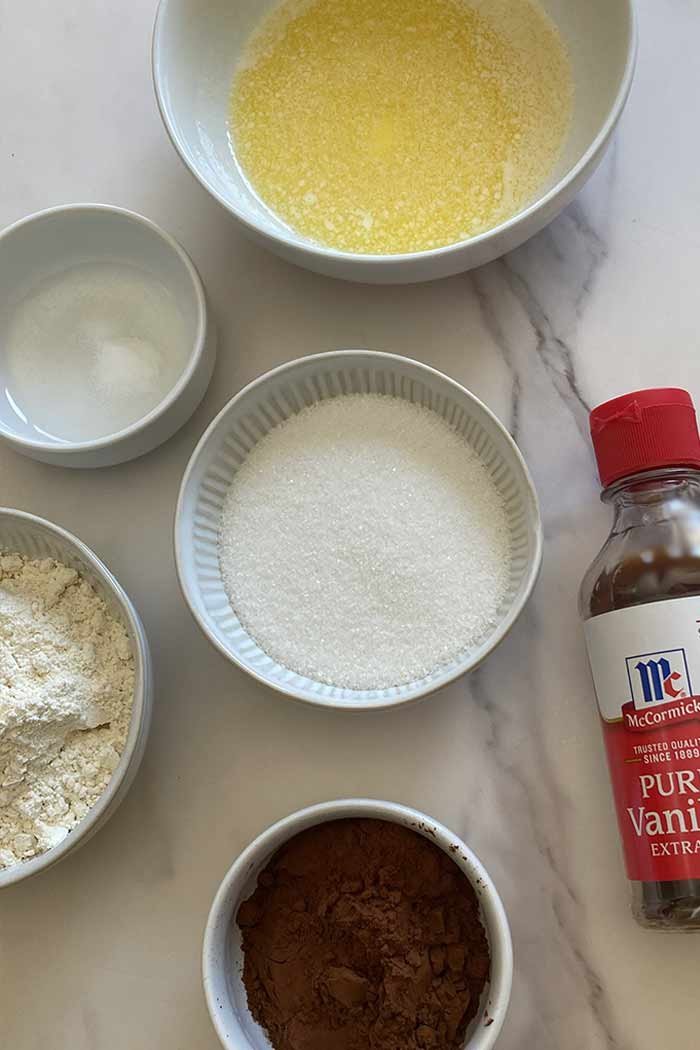
Chocolate Wafer Cookie Ingredients
Butter – provides delicious buttery flavor and helps the cookies spread thin
Sugar – adds sweetness and helps the cookies crisp up
Salt – balances sweetness and enhances the chocolate flavor
Baking Soda – helps the cookies spread and get crispy
Vanilla Extract – enhances flavor
Dutch-process Cocoa Powder – provides deep chocolate flavor
Flour – the main structure of the cookie
FAQ
Can I make these ahead of time?
Yes, these wafer cookies can be made ahead of time and stored in an air-tight container. You can also freeze them for use at a later date.
How thick should I make these?
How thick you make these cookies is entirely up to you and your preferences. For classic wafer crispiness, cut them to around 1/8 of an inch or slightly thinner. If you want a slightly softer cookie, feel free to cut them a bit thicker.
What can I use these for?
These cookies have tons of uses, including:
- icebox cakes
- ice cream cake crunchies
- crumbled over pudding or ice cream
- parfaits
- dipped in coffee or hot chocolate
- mini ice cream sandwiches
How do I know when they’re done?
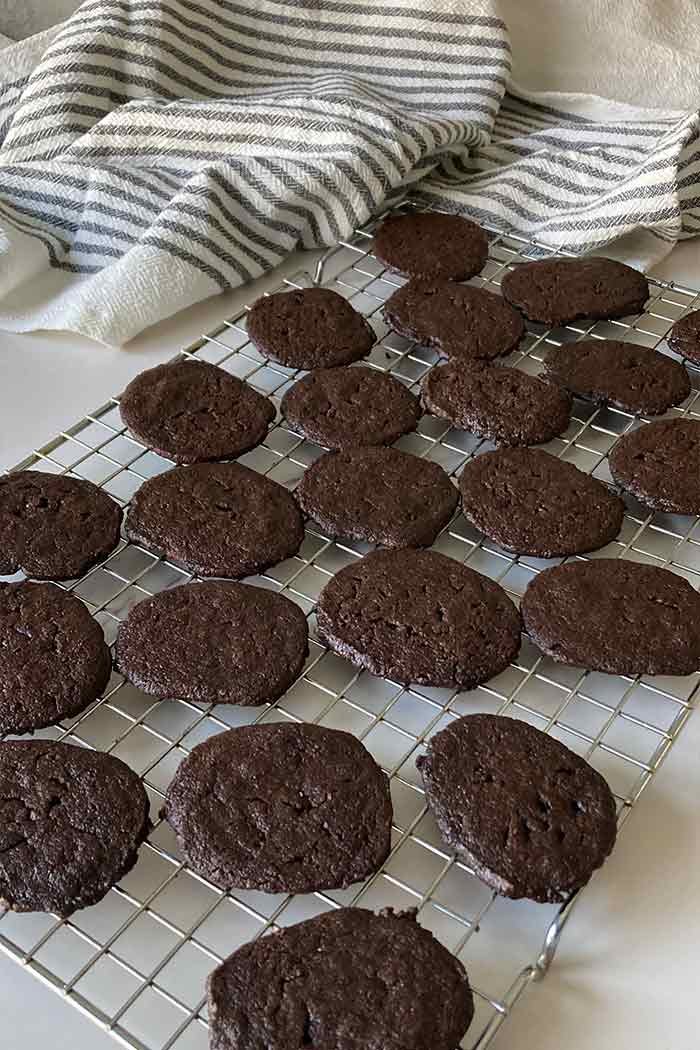
With cookies as dark as these, it can be a bit difficult to tell when they’re done. You’ll know they are ready when you start to smell chocolate and the cookies appear slightly deflated. Tip – let them cool on the baking sheet for a minute or two before transferring to a wire rack to cool.
Looking for More Cookie Recipes?
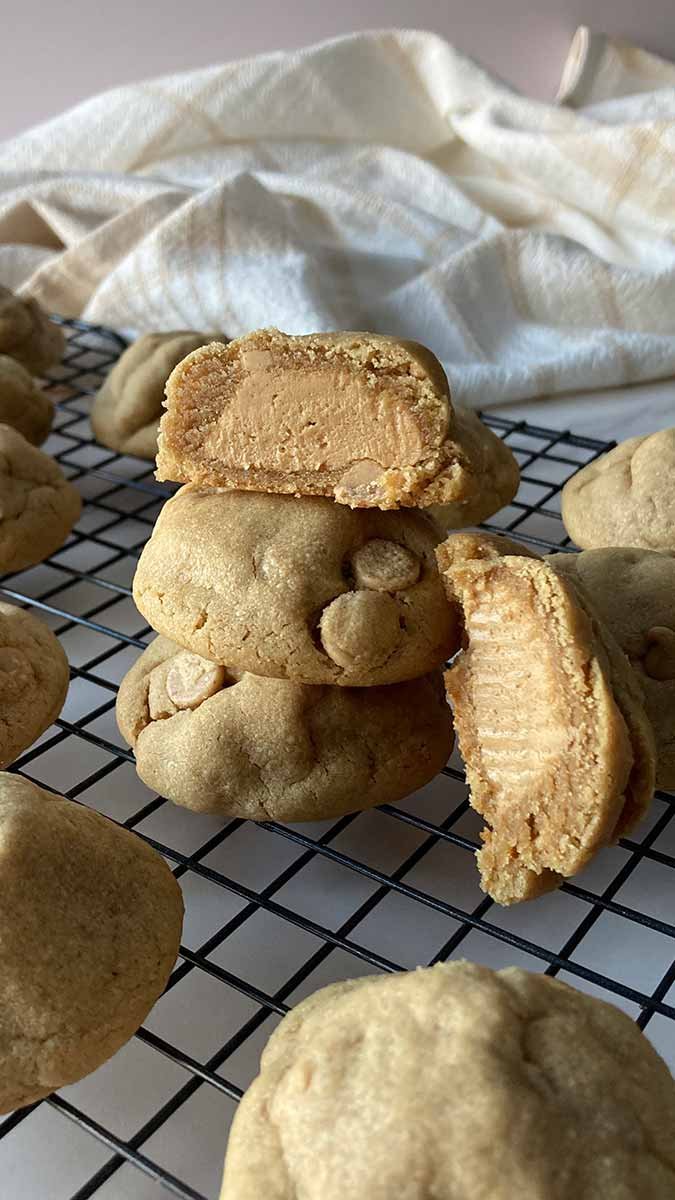
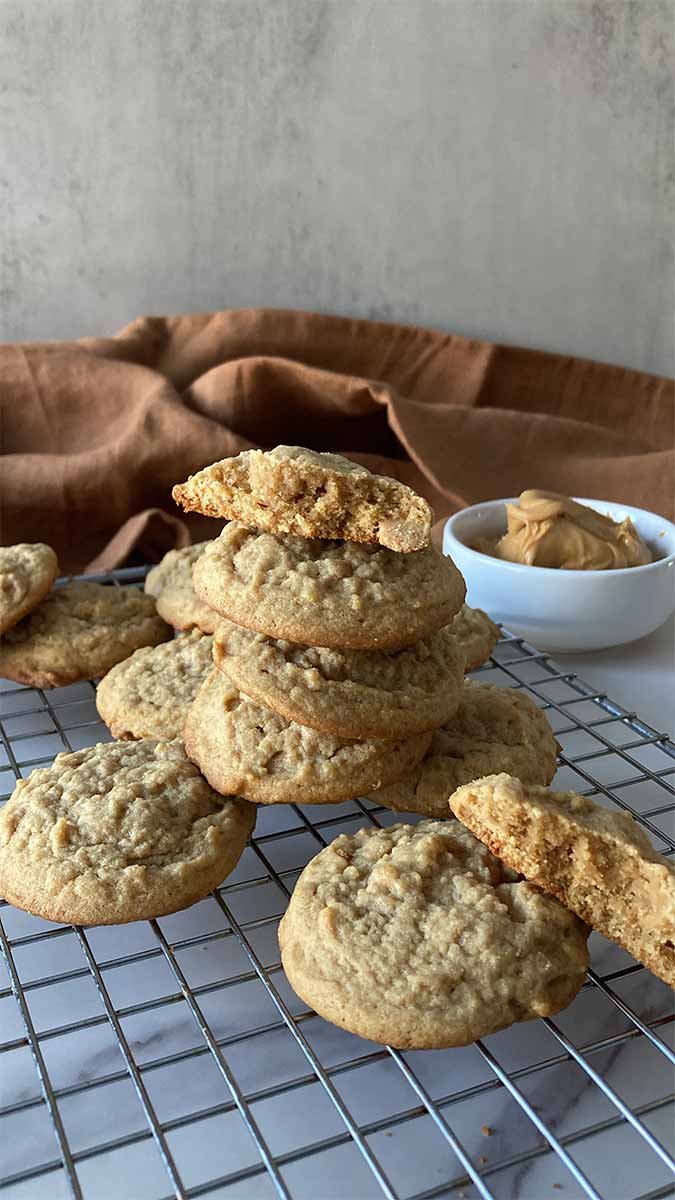
Ultimate Peanut Butter Cookies
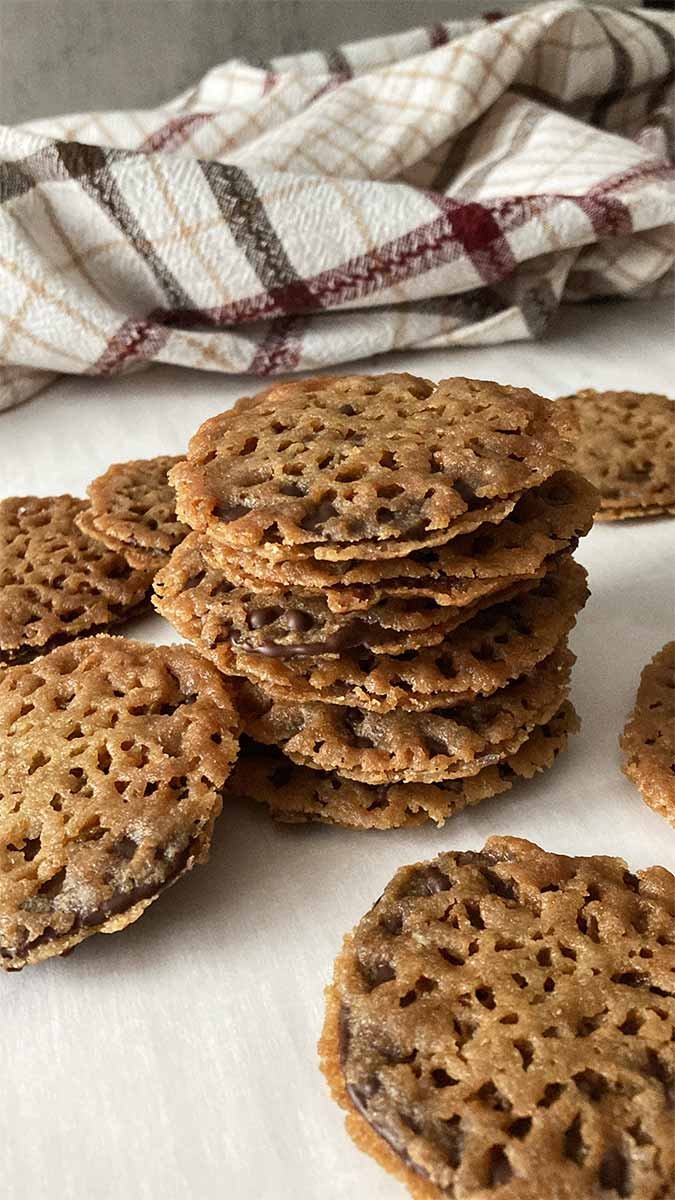
Easy Florentine Lace Cookies (Nut-Free)

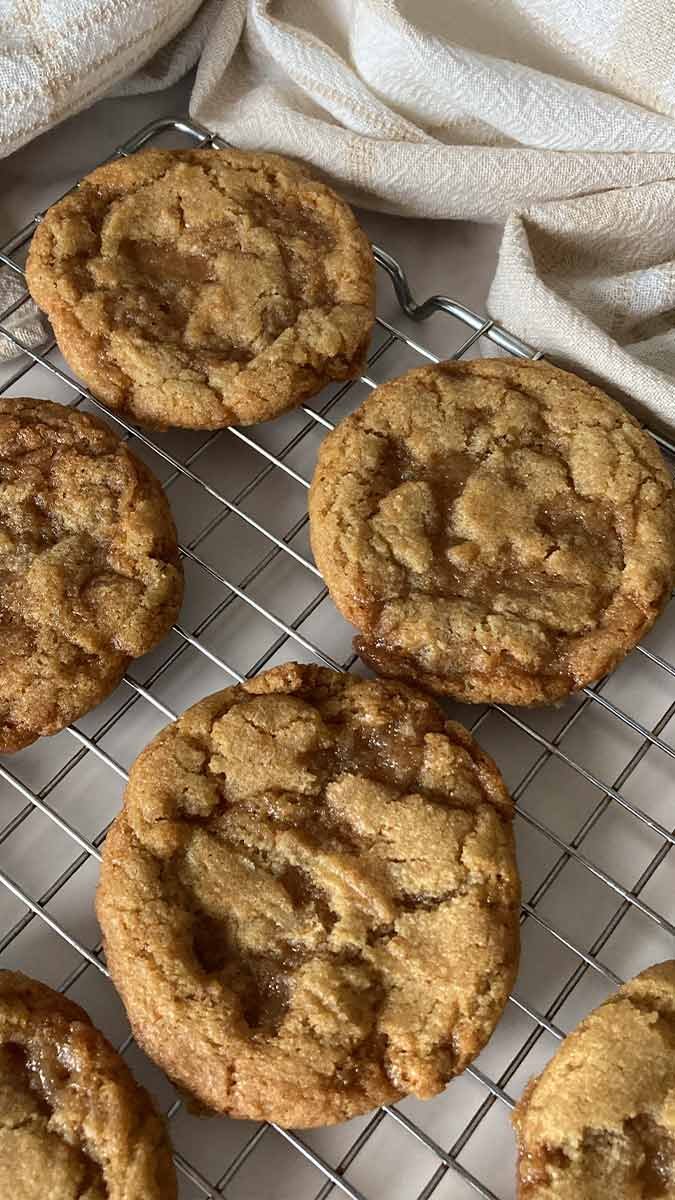
Brown Butter Toffee Chocolate Chip Cookies
Chewy Brown Butter Toffee Cookies
Equipment
I like to have the following equipment to make these cookies:
Chocolate Wafer Cookies
Ingredients
- 6 tbsp (85 g) butter, melted
- ½ cup (92 g) sugar
- ⅛ tsp salt
- ⅛ tsp baking soda
- ½ tsp vanilla extract
- ¼ cup (25 g) dutch-process cocoa powder
- ½ cup + 2 tbsp (75 g) flour
Instructions
- Preheat oven to 350℉.
- Add melted butter and sugar to a bowl. Mix until combined.
- Add salt, baking soda, and vanilla. Mix until combined.
- Mix in cocoa powder until combined. Mix in flour until combined.
- Form dough into a log about 5 inches long. Wrap tightly in plastic wrap and refrigerate until firm, about 3 hours.
- Once the dough is chilled, slice the dough into ⅛ inch thick slices.
- Transfer to a parchment-lined cookie sheet and bake for 8-12 minutes, or until cookies appear slightly deflated and the kitchen smells of chocolate*.
- Allow cookies to cool on the cookie sheet for 1-2 minutes before transferring to a wire rack to cool completely.
Notes
If you try out this chocolate wafer cookie recipe, I’d love to know what you think! Please leave a comment with a rating below and share a photo of your creation on Instagram using the hashtag #BrooksideKitchen and tag @BrooksideKitchen