This post may contain affiliate links. Please read our disclosure policy.
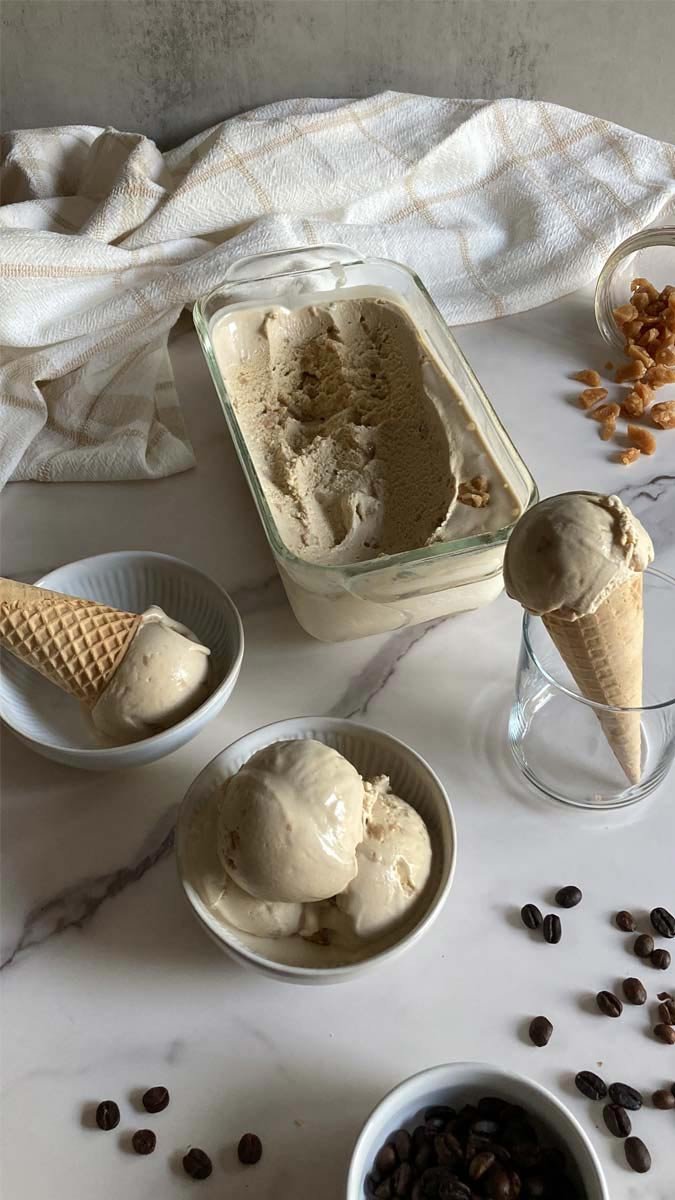
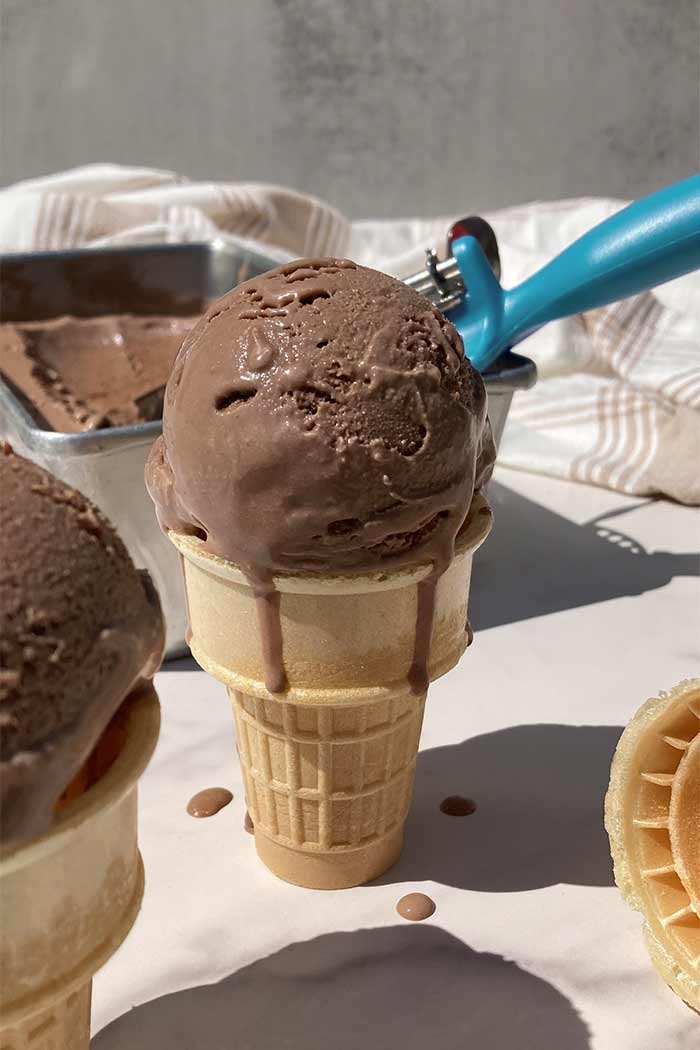
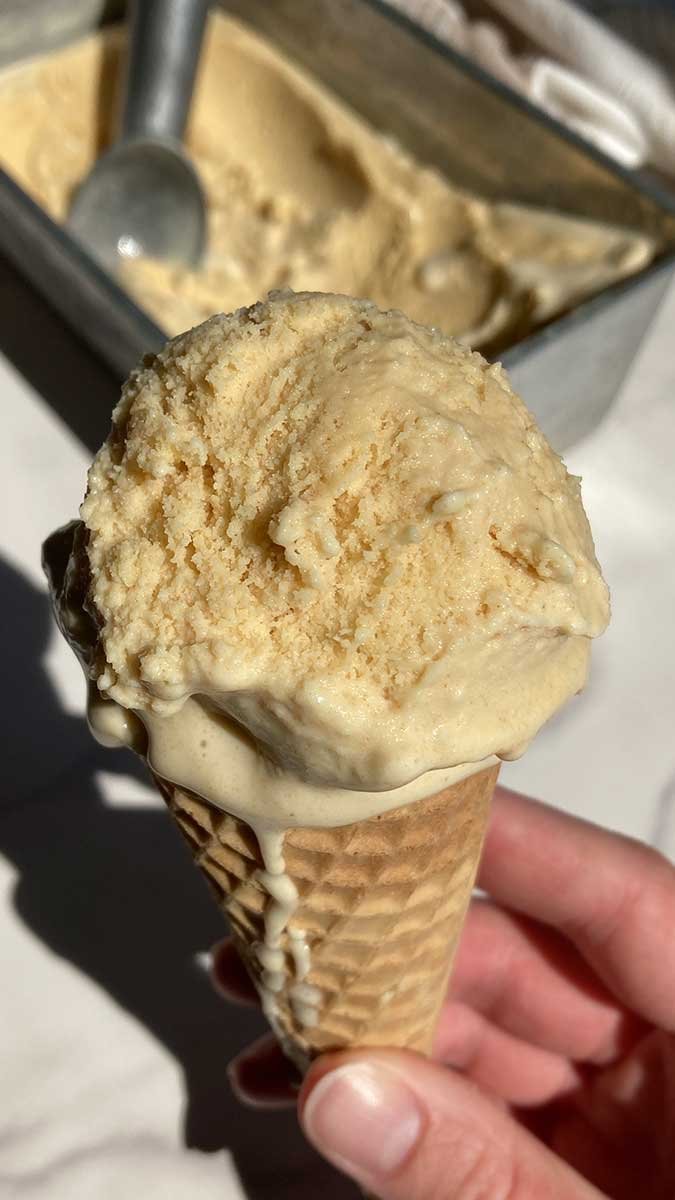
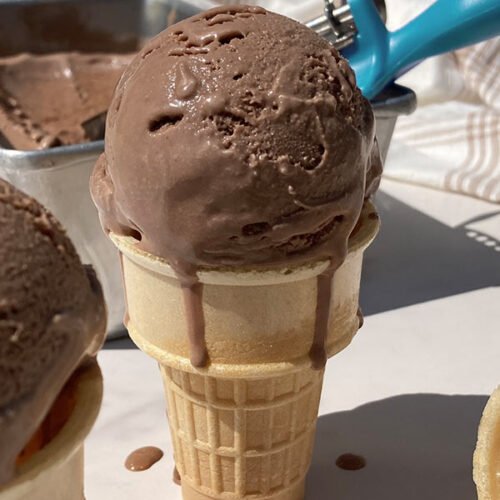
Smooth and creamy chocolate ice cream with the nostalgic flavor of malt — like your favorite diner-style milkshake.
Simple and Delicious
This ice cream is simple, but oh-so-good! It has a custard-style base, giving it a rich and creamy texture, and just enough cocoa powder to give it a delicious chocolate flavor while allowing the toasty sweet flavor of malt to peek through. This ice cream’s simplicity, with its subtle nostalgic flavor, makes it a recipe you’ll be making time and time again.
What is Malt?
To put it simply, malt is made from sprouted and toasted grain, usually barley. The flavor of malt is a bit difficult to explain. It has almost a toasty sweetness to it that compliments other flavors beautifully. It’s the difference between a classic milkshake and that nostalgic diner-style milkshake flavor — a bit more toasty and a little richer and creamier. If you’ve ever had a Whopper or a Maltesers candy, you know the flavor of malt.
Malt is typically found in a few different forms:
Barley Malt Syrup – a thick and dark syrup, typically used in bread or bagel making.
Malt Powder (diastatic or non-diastatic) – diastatic has active enzymes to help bread rise while non-diastatic is used more for flavor enhancing.
Malted Milk Powder – perhaps the easiest to find. Usually a blend of malt powder, milk powder, and sugar, used to add flavor to milkshakes and desserts.
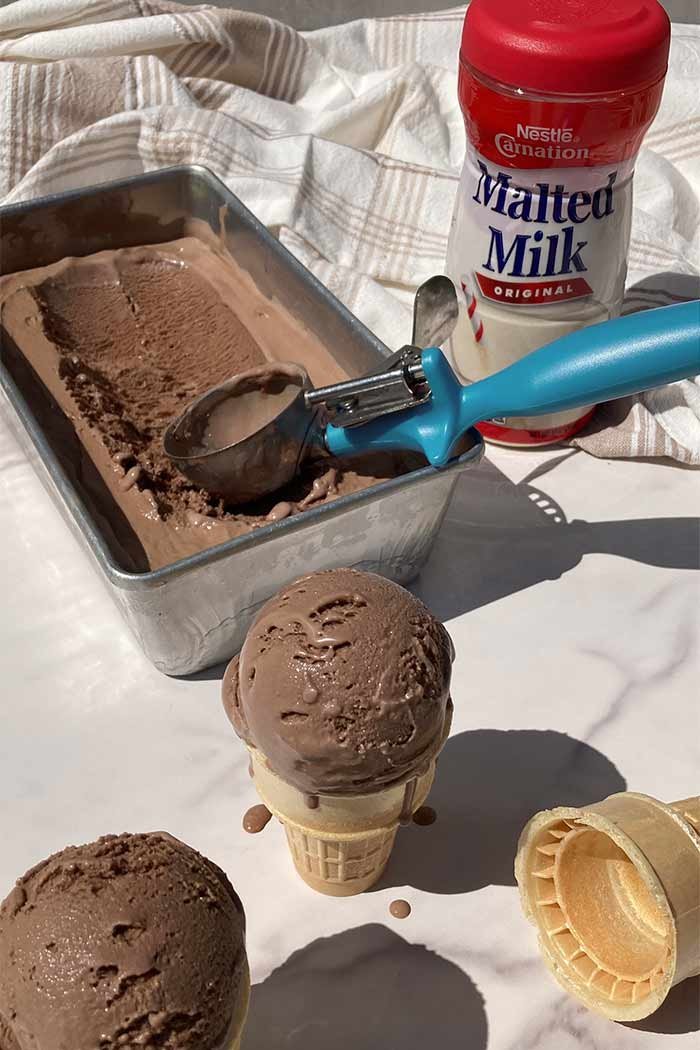
For this recipe, I use malted milk powder because it is delicious and relatively easy to find. You can find something like Nestle Carnation Malted Milk Powder in many grocery stores. You can also find malted milk powder on Amazon, such as these from King Arthur Baking Company and Anthony’s.
Why You’ll Love this Chocolate Malt Ice Cream Recipe
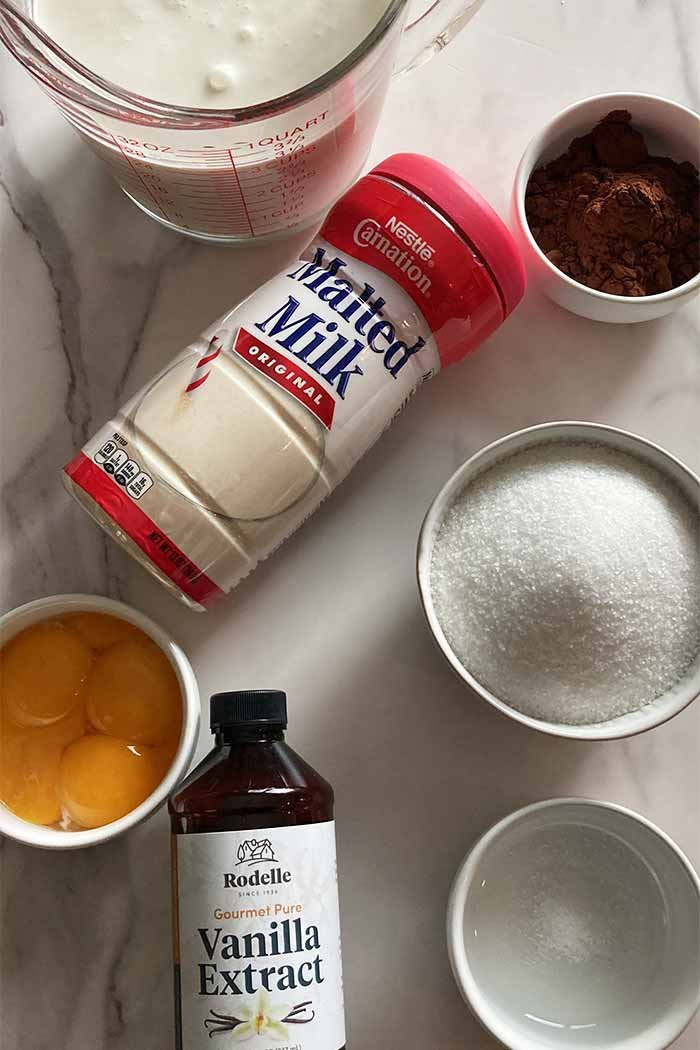
Simple Ingredients – this homemade ice cream is made with simple ingredients like heavy cream, milk, egg yolks, and sugar. No weird ingredients that you can’t pronounce.
Nostalgic – something about the flavor of chocolate malt brings you back to simpler times — milkshakes at the diner, ice cream on hot summer days, and the feeling of childhood.
Mix-in & Topping Friendly – this is a simple ice cream flavor. It’s fantastic on its own, but can also be a wonderful base for a variety of mix-ins or toppings like crushed Whopper candies, hot fudge, caramel, magic shell topping, sprinkles, etc.
Versatile – while great on its own, this ice cream would also be delicious in an ice cream cake, sandwiched between two cookies, in an ice cream float, used to make an old fashioned milkshake, scooped over a brownie or skillet cookie, etc. The list goes on and on.
FAQ
Can I increase the amount of malt I use?
Yes, this is a personal preference and can be altered to suit your taste.
Why does this recipe call for egg yolks?
Egg yolks are used to make custard-style ice cream. They act as an emulsifier, which gives the ice cream a richer, creamier texture and help it hold up better in the freezer, which is why it is my preferred style of ice cream.
Do I need an ice cream maker?
There are ways to make ice cream without an ice cream machine, but I highly recommend one. Not only does an ice cream machine make churning ice cream easy, but it will generally give you a much smoother final ice cream texture too. I list the one I use in the Equipment section below.
Check Out Some Other Ice Cream Recipes:
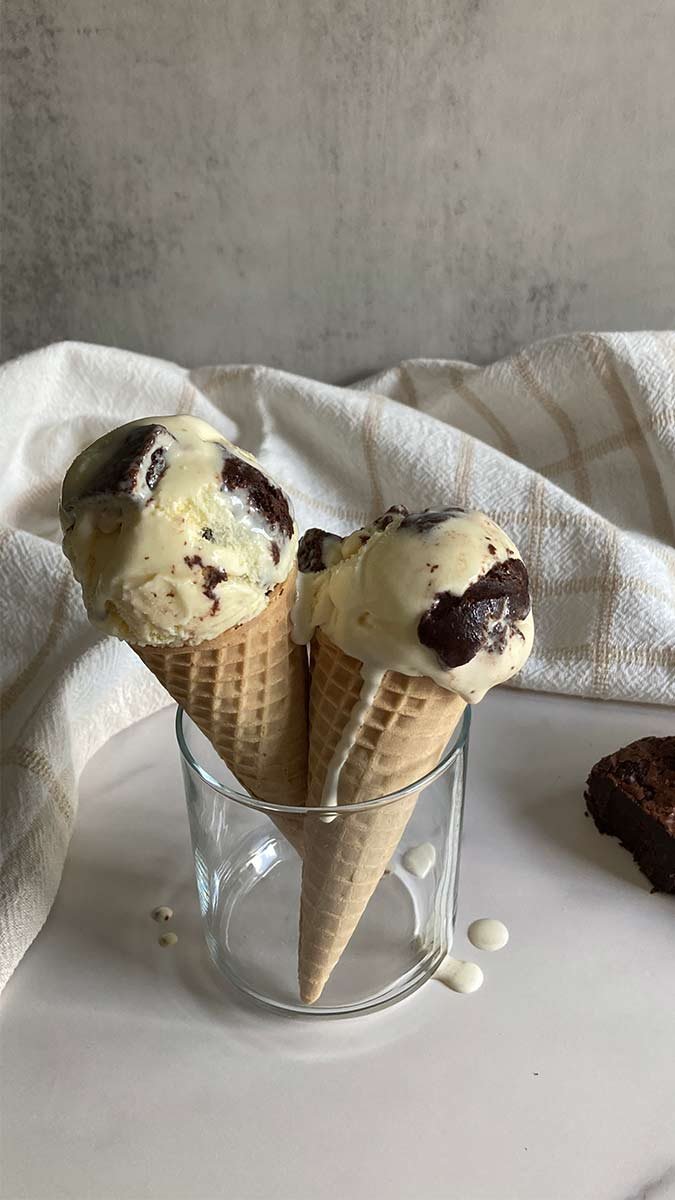
Salted French Vanilla Brownie Ice Cream
Brown Butter Ice Cream
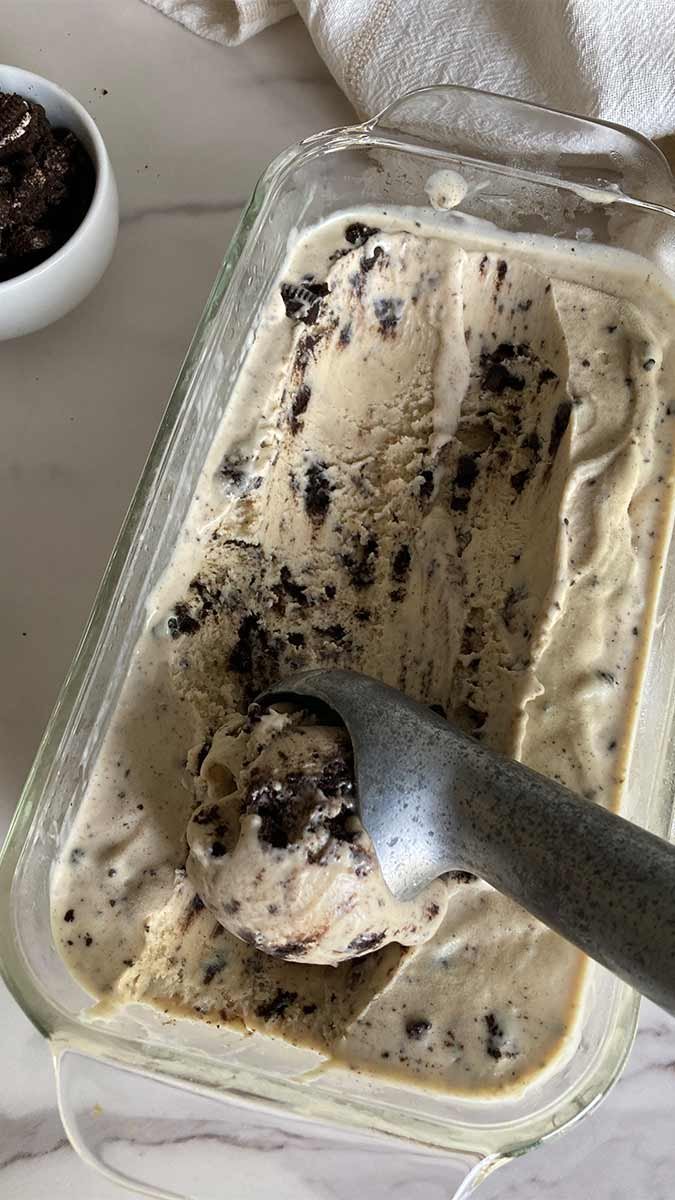
Peanut Butter Cookies and Cream Ice Cream
Brown Sugar Walnut Ice Cream
Equipment
I use an ice cream maker to churn this ice cream. The one I currently use, and some other options, are linked below:
- Cuisinart Ice Cream Maker (the one I currently use)
- Kitchen Aid Mixer Ice Cream Attachment
- Bosch Mixer Ice Cream Attachment
- Dash Ice Cream Machine
Don’t have an ice cream machine or not ready to buy one? Check out my post: How to Make Ice Cream Without a Machine.
Creamy Chocolate Malt Ice Cream
Equipment
- Ice Cream Machine
- Fine-mesh Sieve (optional)
Ingredients
- 4 egg yolks
- ¾ ¾ cup (160 g) sugar
- 1 ½ cups (380g) whole milk
- 1 ½ cups (370 g) heavy cream
- t tsp vanilla extract
- ¼ tsp salt
- 3 tbsp (20g) dutch-process cocoa powder
- 3 tbsp (18g) malted milk powder
Instructions
- In a medium bowl, whisk together egg yolks and sugar until light and fluffy. Set aside.
- Add milk, cream, vanilla, salt, cocoa powder and malted milk powder to a pot. Place over medium heat, stirring frequently, until warm and beginning to steam.
- Slowly pour some of the warm milk mixture into the egg yolk mixture, while whisking constantly to temper the egg yolks. Continue until all of the milk has been added.
- Pour the mixture back into the pot and cook over medium heat, stirring constantly. Cook until the mixture thickens and coats the back of a spoon.
- Pour the mixture through a fine-mesh sieve (optional) into a heat-safe container. Cover and let cool slightly at room temperature for 20 minutes. Then, place in the fridge and chill overnight, or until completely cold.
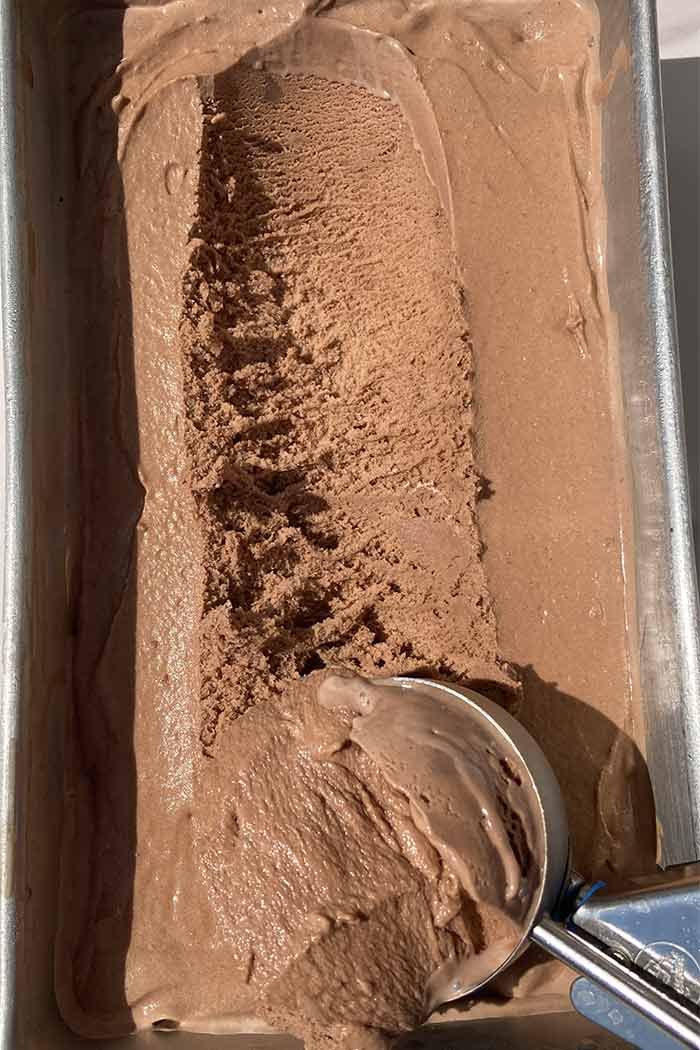
- Churn ice cream according to manufacturer's instructions until it reaches a soft-serve consistency (about 20 minutes).
- Transfer to a freezer-safe container and freeze for 2-4 hours until firm and scoopable.
Notes
If you try out this chocolate malt ice cream recipe, I’d love to know what you think! Please leave a comment with a rating below and share a photo of your creation on Instagram using the hashtag #BrooksideKitchen and tag @BrooksideKitchen